Last updated November 18, 2026
Free written scope consultation - allowances, timeline, and change-order rules on paper before a single trade is scheduled
Driveway & Pavers Maintenance Checklist for Kendall Homeowners
A paver that rocks underfoot isn’t a paver problem. It’s a base failure, and sealing over it every two years won’t change that outcome. Most homeowners in Kendall treat driveway care as cosmetic housekeeping, something to squeeze in beside pressure-washing the patio and trimming the hedges. The truth runs deeper, and the subsurface doesn’t forgive neglect. In a climate with no frost to break up the ground but relentless UV, sudden downpours, and long stretches of heat, the sand-set bed beneath your pavers is doing quiet, constant work. This guide walks through the maintenance schedule that actually protects that base, from re-sanding intervals to drainage slope to edge-creep inspection, with specifics for Kendall homes.
Quick Answer
Driveway and paver maintenance in Kendall comes down to four recurring jobs: cleaning, re-sanding joints, checking the base for settling and edge creep, and applying a sealer matched to your paver material. Do those on the right schedule for a subtropical climate and your driveway will hold its slope and appearance for many years. Skip them and the repair bill moves from a re-sand to a full-section re-lay.
Styles & brands we work with
- Kitchen remodeling
- Bathroom remodeling
- Home additions & ADU
- Roofing
- Windows & doors
- Driveway & pavers
- Fence
Table of Contents
- Why Kendall’s Climate Changes the Maintenance Calendar
- Polymeric Sand in High-UV, High-Rain Conditions
- Drainage Slope: The 1/8-Inch Rule That Prevents Base Wash-Out
- Edge-Creep Inspection: The Step Most Homeowners Skip
- Choosing a Sealer by Paver Material
- Which Maintenance Products Void Manufacturer Warranties
- A Seasonal Maintenance Schedule for Kendall
- What You Can Handle and What You Shouldn’t
Why Kendall’s Climate Changes the Maintenance Calendar
Northern maintenance guides assume the ground freezes every winter and thaws every spring. That cycle heaves pavers, cracks joints, and gives the base a yearly reset. None of that happens in Kendall, and yet the base underneath still degrades. The mechanism is different here: intense solar exposure softens the top layer of sand, sudden afternoon storms flush water through the joints, and the very mild winter means the ground never pauses long enough to fully dry between wet seasons. The damage builds slowly and without the dramatic visual cues that northern homeowners use as a maintenance reminder.
The practical result is that you cannot copy a maintenance guide written for a climate with freeze-thaw cycles and expect the same schedule to hold. In Kendall, the joints lose their sand faster because water moves through them more often. The surface fades faster because the UV index stays high through more of the year. And the base shifts less from frost and more from water finding its way under the edges after a heavy storm.
- No frost heave: pavers don’t lift and reset with the seasons, so base failures stay hidden until a paver rocks.
- Year-round UV: color fading and surface hardening happen continuously, not just in summer.
- Storm-driven water: joints and edges take on water repeatedly, so sand loss is a constant, not an annual event.
- Long warmth: surface temperatures stay high enough for weeks at a time to stress sealers and joint sand.
The good news is that the maintenance work isn’t harder, just timed differently. Once you understand which jobs repeat more often and which can wait, the schedule becomes predictable. We’ve seen homeowners in Kendall get years of clean, stable pavement out of the same install that would have deteriorated badly in a climate where winter freezing events double the stress.
Polymeric Sand in High-UV, High-Rain Conditions
Polymeric sand is the joint-filler that locks pavers in place. It’s a mix of fine aggregate and a binder that hardens when it cures. In colder climates, polymeric sand typically has to be refreshed every few years because the freeze-thaw cycle crumbles it. Kendall’s climate plays by different rules. UV exposure here degrades the binder more than cold does, and heavy rain events wash out the sand itself if the joints are already compromised. That combination means the correct re-sanding interval for a Kendall driveway is often shorter than what a northern guide suggests, particularly on the western or southern-facing sections of pavement that get the most sun.
How UV and rain wear down polymeric sand
The binder in polymeric sand is designed to withstand weather, but no binder is immune to long exposure to high UV and repeated water saturation. In Kendall, pavers on the south or west side of a house may show joint sand loss within a few seasons if the surface wasn’t sealed. Rain that pools on the surface during an afternoon storm finds the weakest joints first and widens them. Over time, the joints deepen, water flows through instead of around them, and the base starts taking on moisture it wasn’t meant to absorb.
The correct re-sanding interval
- Check every spring and fall: visually inspect for joints that are more than about 1/8 inch below the paver surface.
- Re-sand when needed, not on a fixed date: the interval depends on sun exposure, sealer condition, and drainage. Most Kendall driveways need a full re-sand within a few years of installation and again after any sealer refresh.
- Use polymeric sand designed for warm, wet climates: some formulas are rated for freeze-thaw performance, which is irrelevant here. Ask for a product that comes from a manufacturer with a warm-climate track record.
- Wait for dry weather: polymeric sand must be installed on dry joints, then misted carefully to activate the binder. A sudden afternoon storm during installation can wash it out, so schedule this work for a dry window.
One habit that pays off: after a heavy rain, walk the driveway and look at the joints. If water is standing in the joints more than a minute after the storm passes, the drainage under the surface is already compromised. That’s the point to re-sand, not weeks later.
Drainage Slope: The 1/8-Inch Rule That Prevents Base Wash-Out
A driveway needs a minimum slope of 1/8 inch per foot away from the house or into a drainage path, depending on code and site specifics. That slope is not a design preference. It is the single most important feature of a paver driveway, and it’s the one most likely to be compromised by settling and by poor base installation. When the slope is correct, water runs off the surface and away from the base. When the slope is too shallow, water pools, finds the edges and joints, and starts to undermine the base from the bottom up.
Why South Florida storm patterns expose bad slope
The severe rain events that sweep through Kendall dump a lot of water in a short time. A surface that would drain slowly enough under a steady drizzle will be overwhelmed by a sudden downpour. If the slope is marginal, the water pools, and the sand-set base underneath softens. The pattern repeats and the base washes out, one storm at a time.
How to check your driveway slope without special tools
- Place a long straight edge (a level works) on the driveway surface in several spots.
- Slip a shim under one end and measure how much clearance the slope produces per foot of length.
- Confirm water flows away from the house and toward a drainage point or the street.
- Look for flat spots after rain, which indicate the slope has settled below the 1/8-inch per foot minimum.
If your driveway is draining toward the house, or pooling in a low spot after every storm, that’s a slope correction job, not a maintenance task. Getting it fixed early, before the base becomes fully saturated, is far less expensive than rebuilding the base after a failure. Our driveway & pavers team can assess slope and drainage during a free estimate.
Edge-Creep Inspection: The Step Most Homeowners Skip
Edge creep is the slow outward drift of pavers at the perimeter of the driveway. It’s the most neglected maintenance task on the list, and it’s the one that most often turns a small repair into a full-section re-lay. The cause is simple: pavers want to move outward, especially at the edges, and the edge restraint is the only thing holding them in place. In Kendall, water hitting the edge during storms accelerates the process, particularly where the edge meets grass or a planting bed.
What to look for
- Visible gaps at the outer edge between the paver and the edging or restraint.
- Pavers that rock or wobble near the perimeter, even if the interior pavers feel solid.
- Joint widening at the outermost row compared to interior rows.
- Soil or mulch collecting in the gap between the paver and the edge restraint.
Why early detection saves money
Catching edge creep early means you can re-set the outer row and re-secure the edge restraint without re-laying the whole driveway. Once the surrounding pavers have shifted, the base underneath has rotated, and the fix grows. By the time a homeowner notices pavers sitting flush against a lawn that’s grown over them, the drift has usually been happening for months.
How to inspect edge creep
- Walk the entire perimeter of the driveway and look at the outermost row.
- Press the ball of your foot on each edge paver, checking for rocking.
- Check that edge restraint is tight against the last row and hasn’t lifted.
- Look at the joint between edge and grass. If soil is spilling into the joint, the pavers have drifted.
This is a ten-minute inspection that should run annually, and after any major storm that produced visible pooling at the driveway edge. It’s also part of what we do on every Kendall Construction Co walkthrough.
Choosing a Sealer by Paver Material
Sealer choice should follow the paver type, not a general recommendation from a store shelf. Travertine, concrete, and clay brick each respond differently to sealer chemistry, and the wrong match can dull color, trap moisture, or cause a hazy film. In Kendall, surface temperatures routinely exceed 140°F during the warmest months, and that heat changes how a sealer wears. A product that performs in cooler climates may cure too fast, bubble, or fail to penetrate a hot paver surface here.
Travertine pavers
Travertine is porous, and it benefits most from a penetrating sealer that soaks into the stone rather than sitting on top. A solvent-based penetrating sealer lets travertine breathe and keeps its natural texture. Film-forming sealers on travertine in Kendall’s heat can trap moisture, especially after a storm, and cause a cloudy appearance.
Concrete pavers
Concrete pavers tolerate a wider range of sealers, but the more important factor in Kendall is the paver’s pigment. Some concrete pavers fade faster than others under high UV. Choose a UV-stable sealer and one that can handle heat during application. Matte finishes tend to hold up better on driveways than high-gloss sealers, which can yellow or scuff under regular foot and vehicle traffic.
Clay brick pavers
Brick pavers are dense and typically want a penetrating sealer, applied thin. In hot climates, brick’s dark surface absorbs more heat, so sealer that builds up a thick film can soften or discolor. Keep the application thin and even, and always test a small area first.
- Check heat rating: ask for a sealer rated for high surface temperatures.
- Match chemistry to material: penetrating for travertine and brick, carefully chosen film-formers for concrete.
- Respect dry, cool weather: install sealer when the surface is not in direct sun, often later in the day as the surface cools. A hot surface during application can cause uneven coating.
- Test before you commit: always test a hidden area for color change and curing.
When we specify pavers from Belgard or Unilock, we match the manufacturer’s sealer guidance to the material and the local climate before recommending a product. That’s how a sealer job stays functional rather than cosmetic.
Which Maintenance Products Void Manufacturer Warranties
Manufacturer warranties on pavers, polymeric sand, and sealers can be voided by the wrong cleaning product or the wrong sealer chemistry. Some of the most common mistakes in patios and driveways are the very products that seem harmless at a hardware store. The two categories to watch closest are acid-based cleaners and sealer formulas that manufacturers specifically exclude from their warranty coverage.
Acid cleaners
Acid-based cleaners strip efflorescence off pavers, but they can also etch the surface, particularly on concrete and travertine, and they react with polymeric sand in a way that shortens the binder’s life. Several paver manufacturers including Belgard and Unilock publish guidance that limits acid washing. If you need to remove efflorescence, ask for the manufacturer’s recommended method first.
Sealer mismatches
A sealer that isn’t listed as compatible with the paver’s surface may void the paver’s finish warranty. Sealer manufacturers publish compatibility guidance, and paver manufacturers generally honor warranties only when the installed sealer is one they approve or that matches their guidance. In Kendall, this is even more important than in cooler climates because a poorly chosen sealer fails faster.
Pressure washing that’s too aggressive
High-pressure washing is a legitimate maintenance step, but it must be done carefully. Above a certain pressure, a surface cleaner will blow out sand from the joints and stress the paver face. If the joints are already thin on sand, that blast accelerates base water exposure. Ask a professional for a suitable pressure range for your paver material, and never hit travertine or brick at the same pressure as concrete.
- Read the warranty first: each paver brand publishes maintenance guidance, and the wrong product can void coverage.
- Avoid harsh acid cleaners: use manufacturer-approved methods for efflorescence.
- Use approved sealer chemistry: a listed sealer match protects your warranty and your surface.
- Keep pressure moderate: high-pressure washing can strip polymeric sand and stress the paver face.
A Seasonal Maintenance Schedule for Kendall
The Kendall maintenance calendar doesn’t follow the four seasons the way northern guides do. It follows the wet and dry pattern, and the compounding effect of heat on sand and sealer. Here’s how to structure the year around the jobs that matter.
Rainy window (roughly late spring through early fall)
- Inspect drainage after each major storm. Look for pooling, edge saturation, and joint erosion.
- Check edge restraint for movement or gaps once a month.
- Avoid sealing during this window unless the weather forecast is reliably dry. Sealer needs a dry cure window.
- Keep lawn debris and mulch off the driveway edge to reduce edge moisture.
Drier window (roughly late fall through early spring)
- Deep-clean the surface with an approved paver cleaner or a professional cleaning.
- Re-sand joints that have lost polymeric sand, using a product rated for warm, wet climates.
- Apply sealer during a dry stretch, with the surface cooled off and the chemistry matched to the paver material.
- Inspect slope and pooling patterns, then plan any slope corrections ahead of the next rainy window.
Even in a climate without freezing temperatures, there’s value in doing the heavy repair work outside the wettest months. Sealer cures more predictably, sand packs better, and any corrections you make get tested by the wet season ahead. This is also the window when we typically schedule larger paver work, since the installation can bookend a dry stretch.
If your maintenance needs extend beyond the driveway, the same timing principle applies across our remodels and exterior work. Cambria countertops in a kitchen or Kohler fixtures in a bathroom don’t care about weather, but the pavers, seals, and exterior paint around them do. Coordinating the schedule keeps the whole property moving in the same direction. See how our home additions & ADU program fits with exterior upgrades on the same property.
What You Can Handle and What You Shouldn’t
Some paver maintenance is safe and reasonable for a homeowner to do alone. Some isn’t, and the line between the two is worth knowing before you start. The general rule we give Kendall homeowners: routine inspection and light cleaning are fine, but anything that involves lifting pavers, correcting slope, or the edge restraint should be a professional job.
Safe for a homeowner
- Visual inspection: walk the perimeter monthly, check for rocking, joint loss, and edge creep.
- Light cleaning: sweep after storms, and rinse with a hose.
- Weed control along the edge: keep the edge clear so moisture doesn’t collect.
- Spot re-sand: top up joints that have lost a small amount of sand.
Better left to a professional
- Base correction and slope correction: requires lifting pavers, checking the base, and re-laying to 1/8 inch per foot or steeper. Getting the slope wrong undoes the entire driveway.
- Full re-sand: done wrong, polymeric sand can cure with haze or fail entirely within one wet season.
- Sealer application: heat and chemistry interactions are easy to get wrong, and the wrong sealer voids warranties.
- Edge restraint repair: the restraint is what prevents future edge creep. A loose repair becomes a bigger one fast.
If you’re not sure which side of that line your job sits on, that’s exactly what the free estimate is for. We assess the driveway, the base, the edges, and the slope, and we tell you what needs doing and what can wait. The written estimate sets the price, so there’s no ambiguity once we’ve done the inspection.
Common Mistakes to Avoid
- Sealing over a rocking paver. Sealer sits on the surface and does nothing for the base underneath. If a paver moves, fix the base or the sealer will fail with it.
- Skipping the edge inspection. Edge creep starts small and grows. The perimeter is where base failures begin, and where they’re cheapest to fix.
- Using acid cleaners on travertine or brick. Some cleaners are too harsh for the surface they’re applied to, and they can void the manufacturer’s warranty. Check the manufacturer’s guidance first.
- Re-sanding on a fixed calendar. Kendall’s sand loss depends on sun, rain, and sealer condition, not on the month. Check the joints after a heavy storm and re-sand when they’re thin.
- Applying sealer to a hot surface in direct sun. Heat makes sealer cure too quickly or unevenly, and on a 140°F paver it’s a wasted job. Apply in cooler conditions.
- Pressure washing at maximum. High pressure strips polymeric sand out of the joints faster than any storm. Use a moderate pressure matched to the paver material.
- Assuming a slope problem will fix itself. Water that pools toward the house or in a low spot will not drain away on its own. Have the slope checked before the base gives out.
See the difference
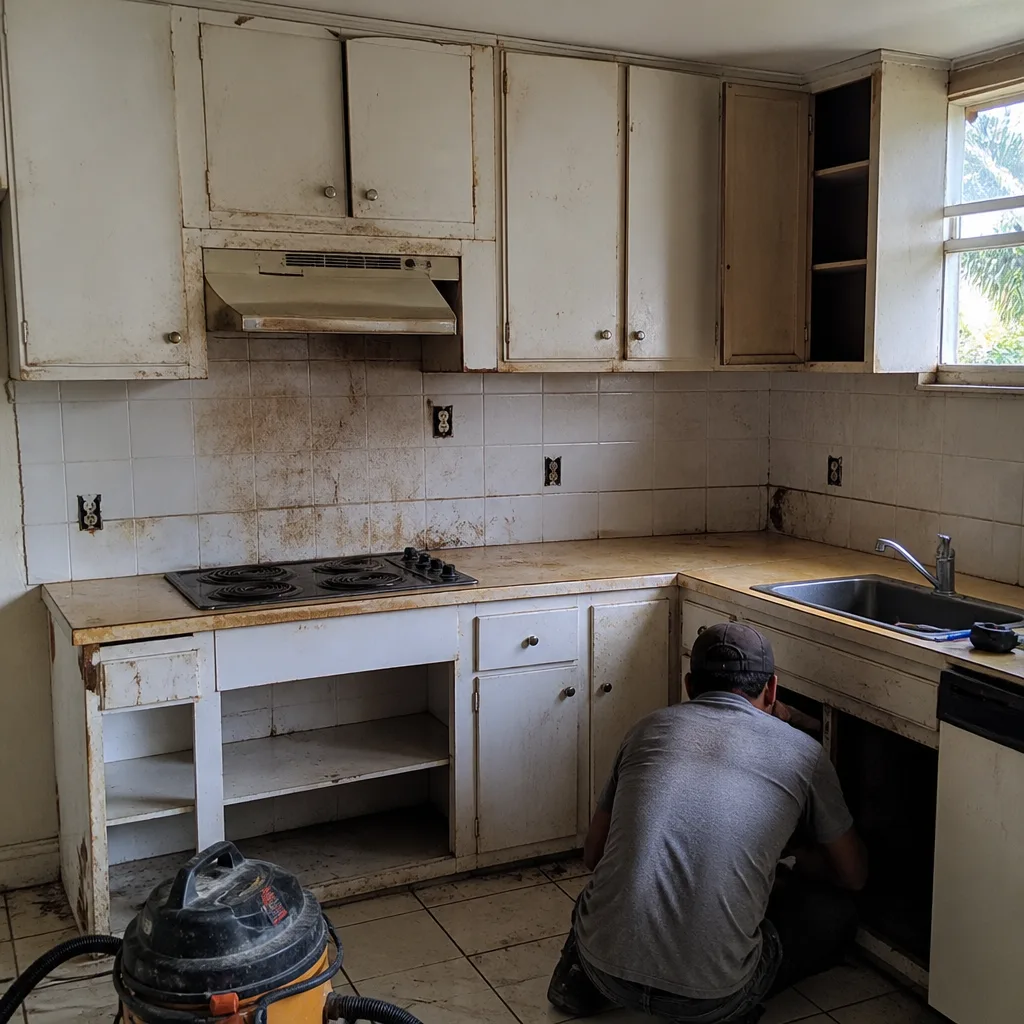 Before
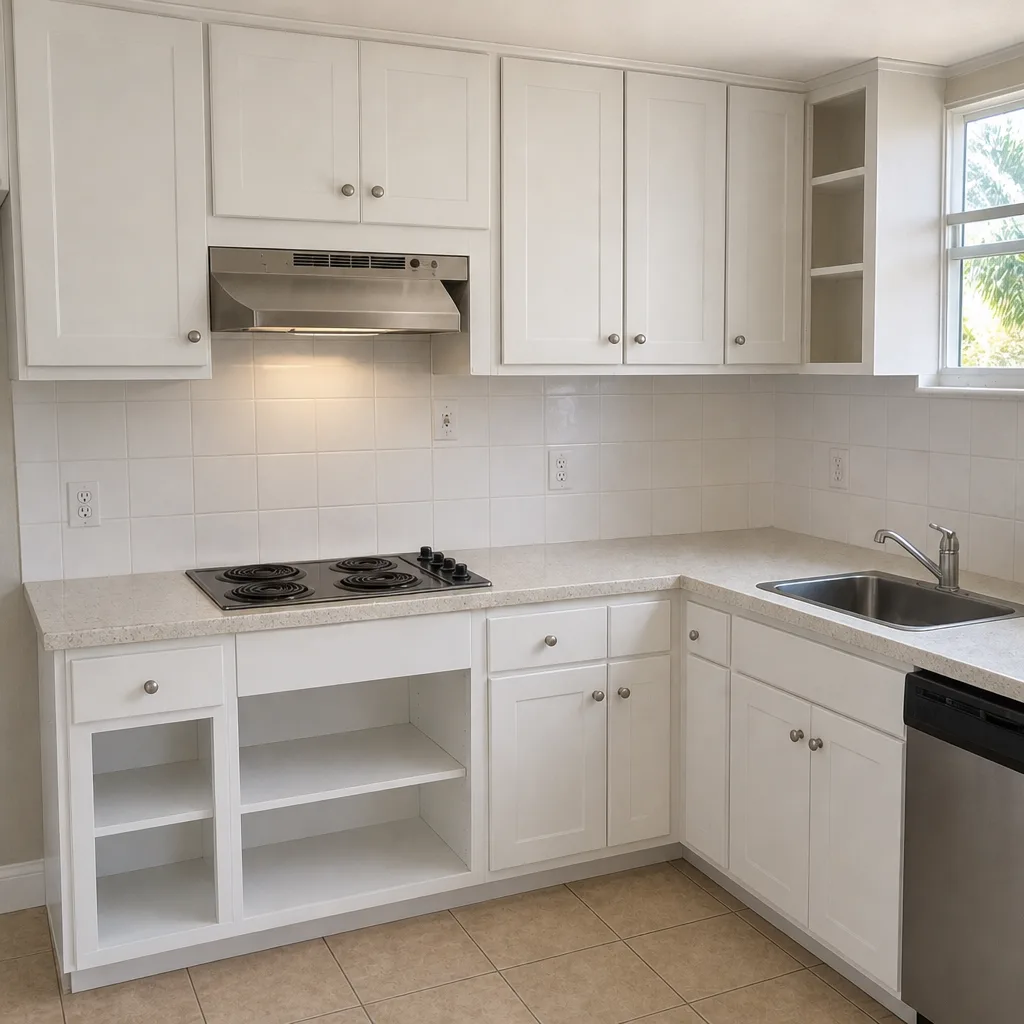 After
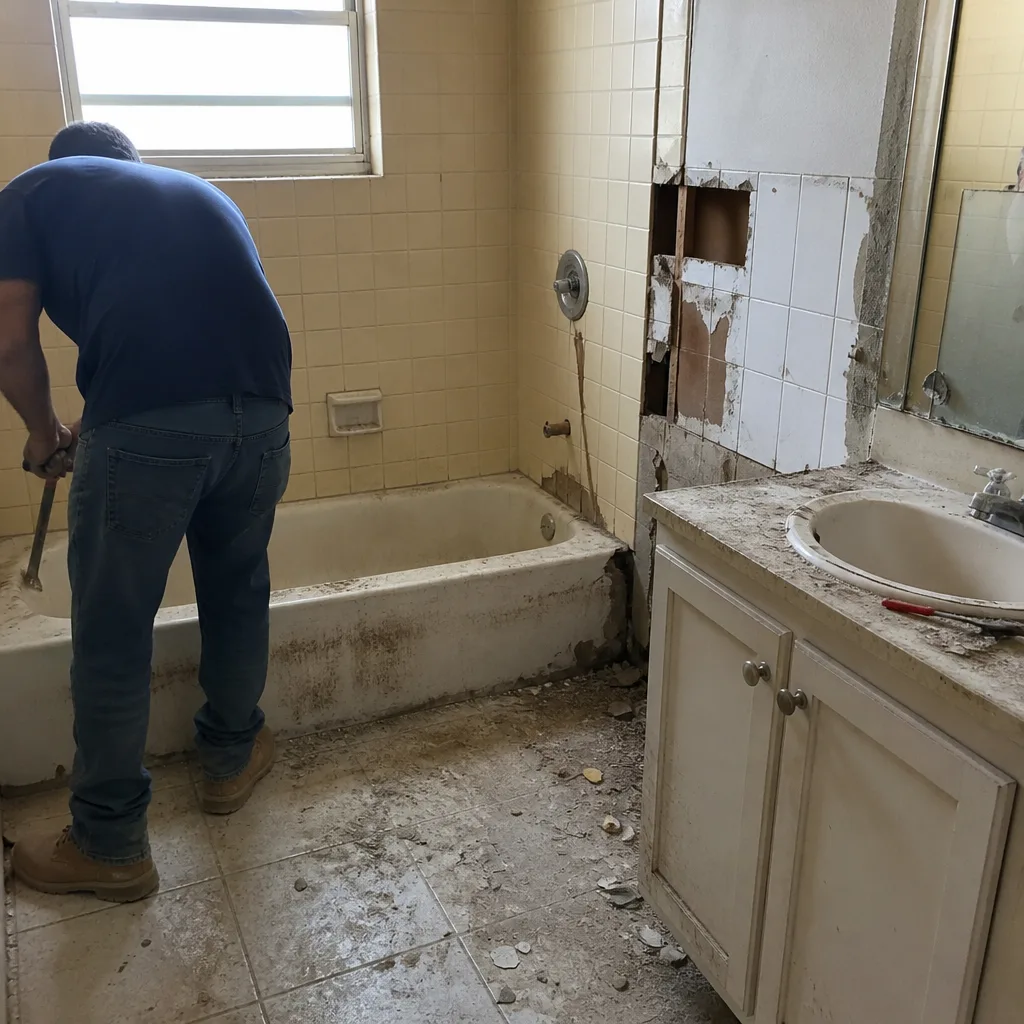 Before
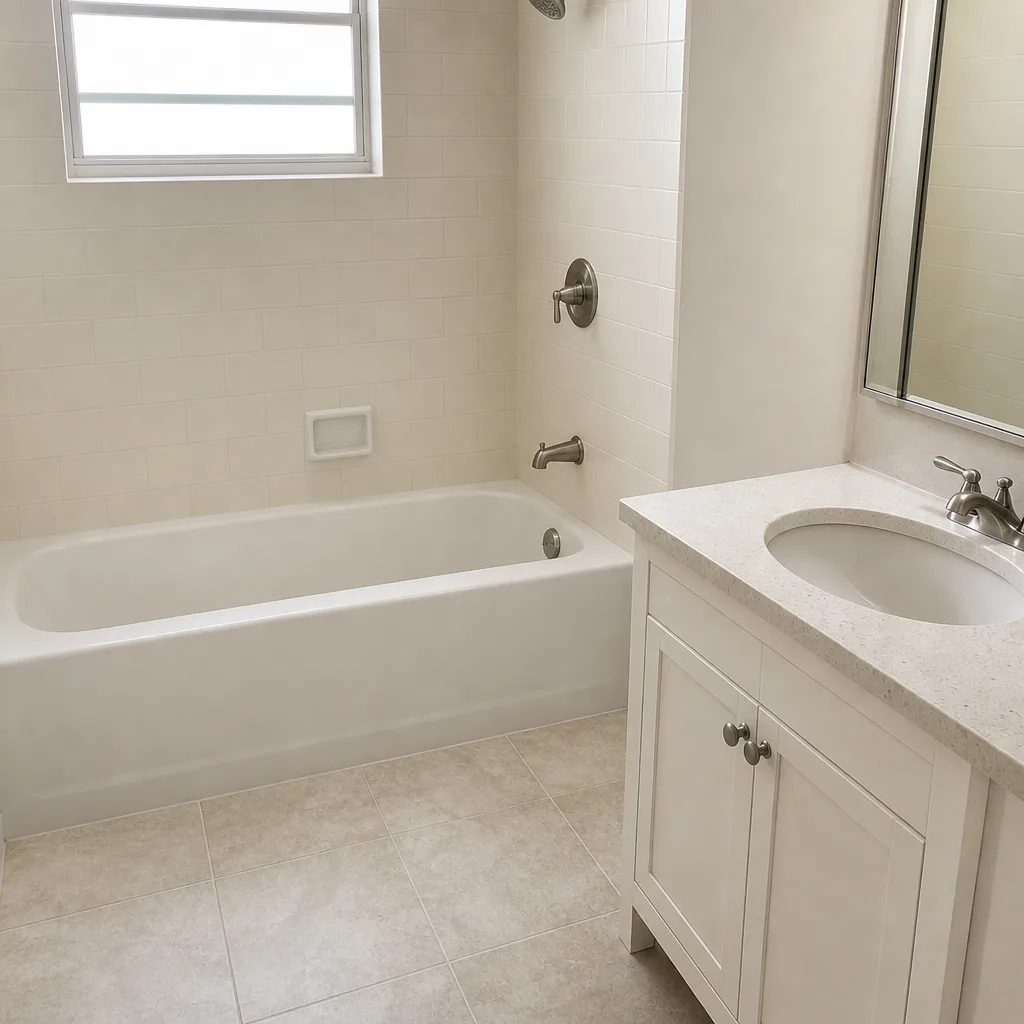 After
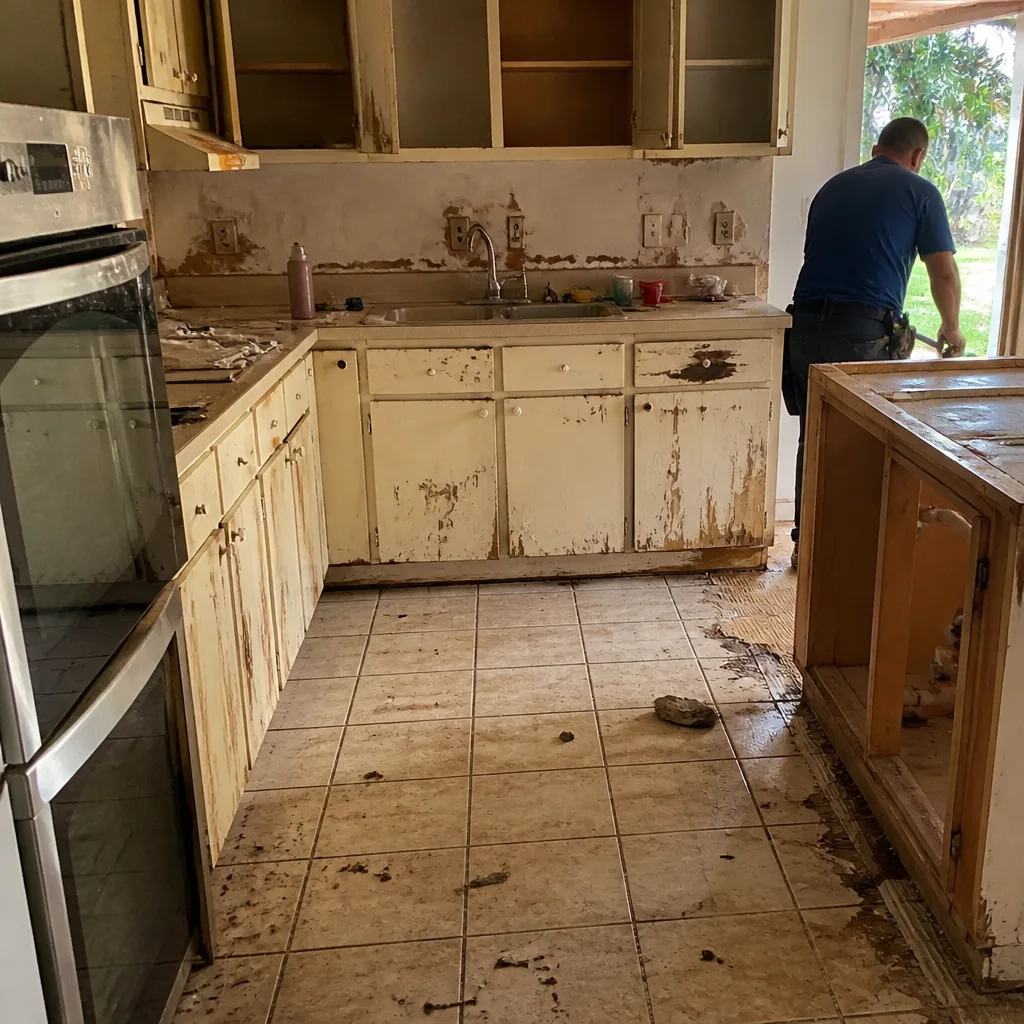 Before
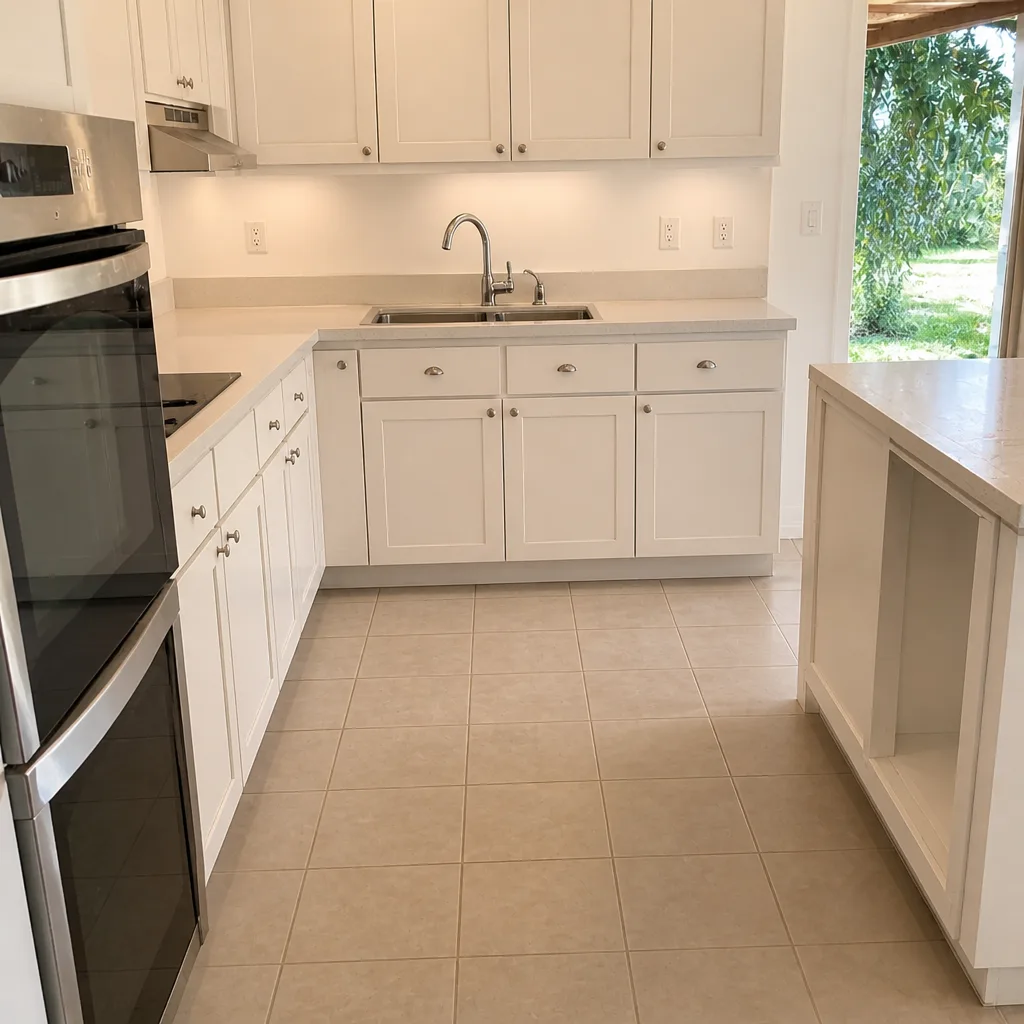 After
When to Call a Professional
Call a professional when a paver rocks underfoot, when water pools in a low spot after every storm, when the edge restraint has moved, or when a full re-sand seems due and you’re not sure the joints are dry enough to do it right. Calls are also appropriate when the driveway is fading unevenly, when a sealer has started to flake, or when you’ve lived with a sloped surface long enough that the pooling has become routine. In each of these cases, the underlying cause is often the base, and a base fix is more than a homeowner can safely take on. Kendall Construction Co offers free estimates in Kendall. We answer 24/7. Fast dispatch from 7am to 7pm, Sunday through Friday. Call (888) 300-8968 to schedule your free estimate.
Frequently Asked Questions
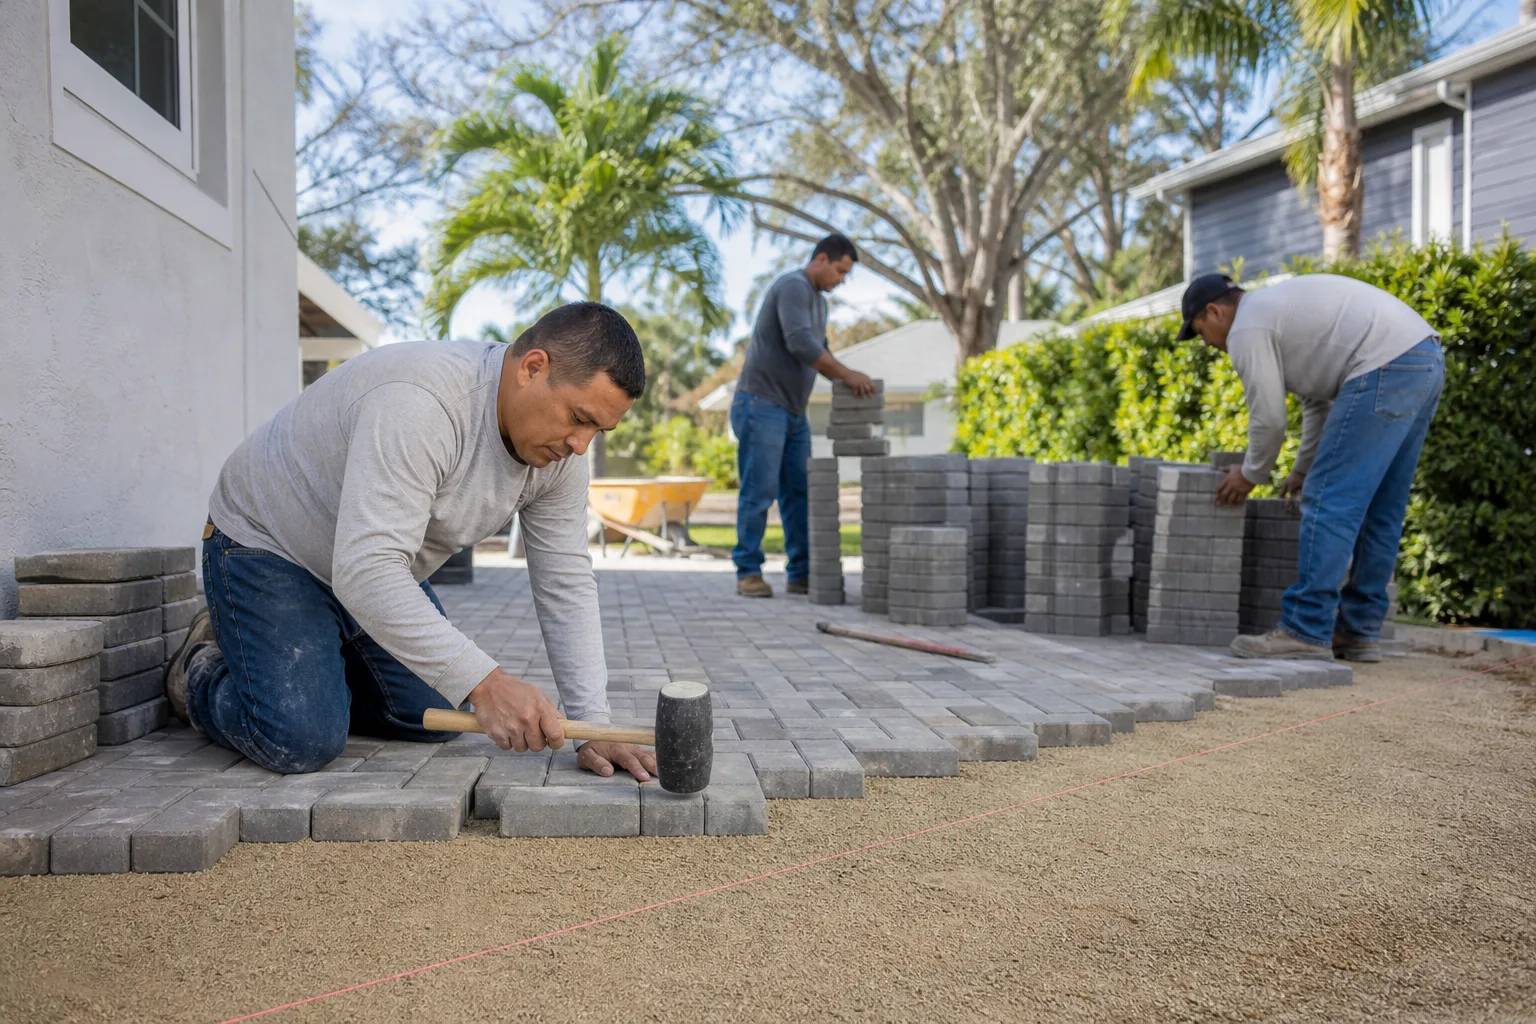
Most Kendall driveways need a full re-sand every few years, and a spot re-sand whenever joints drop more than about 1/8 inch below the paver surface. Kendall’s UV and storm cycles wear polymeric sand faster than a northern climate would, so check the joints after major storms instead of relying on a set calendar. Call (888) 300-8968 for an exact quote on a re-sand, and estimates are free.
A paver driveway should slope at least 1/8 inch per foot away from the house or toward a drainage point. That’s what keeps water moving off the surface and away from the base. If your driveway pools when it rains, the slope may need correction. Call (888) 300-8968 to have us check the slope and the base underneath, and estimates are free.
No. Sealing is a surface treatment, and a rocking paver is a base failure. Sealer applied over a rocking paver will fail along with the paver, and you’ll lose the sealer job when the base is corrected. Fix the base first. Call (888) 300-8968 to schedule a walkthrough, and estimates are free.
No. We provide a written estimate that sets the price for the agreed work, and any change requires your approval before we proceed. That’s how we price every driveway and paver job in Kendall. Call (888) 300-8968 for an exact quote.
A penetrating sealer rated for high surface temperatures is best for travertine in Kendall. Film-forming sealers can trap moisture and cloud the stone’s surface, and the material’s 140°F-plus summer temperatures can stress the sealer further. Match the sealer to the paver material before applying. Call (888) 300-8968 to talk through options for your driveway, and estimates are free.
Yes, at moderate pressure, and with a cleaner compatible with your paver material. High pressure strips polymeric sand out of the joints quickly, and it can damage softer pavers like travertine and brick. If you’re not sure of the right pressure, call us. Call (888) 300-8968 for a free estimate on a professional cleaning, and don’t skip the edge inspection.
The Bottom Line
Driveway maintenance in Kendall is about protecting the base, not polishing the surface. Check joints after every storm, keep the edge restraint tight, re-sand when the joints are thin, and use a sealer matched to the paver material and to the heat. The slope should be 1/8 inch per foot at minimum, and edge creep should be inspected at least annually. Get these right and the pavers last. For any work beyond routine inspection and light cleaning, including base repair, slope correction, and full re-sand, call Kendall Construction Co at (888) 300-8968. The written estimate sets the final price. When your project grows beyond the driveway, the same team also handles fence installation and exterior work.
Written by the team at Kendall Construction Co.