Last updated November 18, 2026
Free written scope consultation - allowances, timeline, and change-order rules on paper before a single trade is scheduled
Driveway & Pavers Troubleshooting in Kendall: Common Problems and How to Fix Them
If you’re replacing individual pavers every rainy season, you’re not fixing a paver problem. You’re ignoring a base erosion problem that will cost far more if the install keeps failing year after year. A cracked or sunken paver is almost never the actual fault. It’s the visible end of a drainage or base failure that started months earlier, hidden under the surface. This guide is about reading those symptoms correctly so a repair fixes the system instead of hiding it. We’ll walk through the failure patterns we see most across Kendall, from Sunset to Hammocks, and how each one actually gets solved.
Quick Answer
Most driveway and paver problems in Kendall come down to water and base failure, not bad material. A sunken or cracked paver usually means the base beneath it settled, the drainage is pushing water under the surface, or a tree root is lifting the subgrade. The durable fix is diagnosing the root cause first, then resetting or reconstructing the base. Resetting pavers on soft, wet, or eroded base just buys you another rainy season.
Styles & brands we work with
- Kitchen remodeling
- Bathroom remodeling
- Home additions & ADU
- Roofing
- Windows & doors
- Driveway & pavers
- Fence
Table of Contents
- Why a Cracked Paver Is Usually a System Problem, Not a Material Defect
- Settlement, Soil Movement, or Tree Roots: Telling Them Apart
- Why Efflorescence Whitens Kendall Pavers (and What Actually Stops It)
- The Right Way to Reset Sunken Pavers Without Voiding the Material Warranty
- Polymeric Sand Failure in South Florida Humidity
- Drainage and Standing Water: The Root Cause Behind Most Damage
- Band-Aid Repair or Full Base Reconstruction?
- When to Call a Professional
Why a Cracked Paver Is Usually a System Problem, Not a Material Defect
When a paver cracks or rocks underfoot, the instinct is to blame the block. In our experience, the block is the messenger, not the cause. Interlocking pavers are engineered to flex as a system, and when that system is intact, individual units hold up under daily traffic. When the base beneath them is uneven, wet, or shifting, the load no longer spreads evenly, and the weakest units at the top take the stress.
Here’s what’s actually happening under the typical failed paver in Kendall:
- Uneven load transfer. A paver edge that sits high, or a void underneath, concentrates traffic weight on one edge until the block fractures.
- Water in the base. Water that can’t drain runs sideways under a paver course instead of off the surface, softening the gravel and sand layers.
- Edge restraint failure. The pavers at the driveway’s edge push outward when the buried edging or the concrete collar has moved. Once the edge lets go, the whole field loosens.
- Improper compaction during the original install. Base that wasn’t compacted in wet-enough or thin-enough lifts can settle slowly for years before any symptom shows.
That last point matters in our part of South Florida. The soil drains quickly in some spots and holds water in others, and a base built for one condition can fail in the other. We’d rather inspect the field, the edging, and the drainage pattern before deciding what to replace. When the driveway is being replaced rather than repaired, this is exactly the kind of scope that comes up in a driveway & pavers project.
Settlement, Soil Movement, or Tree Roots: Telling Them Apart
Three different root causes produce three similar-looking sunken areas, and each one needs a different repair path. Misreading which one you have is the most expensive mistake a homeowner can make, because the wrong repair never lasts a second season. Here’s how to tell them apart.
Settlement from poor compaction
A uniform dip over a broad area, or a saucer-like low spot that holds water, usually points to base that wasn’t compacted properly in the first place. The tell: the dip is smooth, gradual, and the pavers around it stay level. This is often the least disruptive repair, because the surrounding base is sound and the low spot can be lifted from below after removing the pavers.
Soil movement
When the dip is in one section near a slope, a boundary, or the edge of the property where drainage exits, you may be looking at subgrade movement, not base compaction. The tell: the low spot sits where water actually pools and the base under it feels soft or spongy after heavy rain. Here, resetting on the same soil just restarts the clock. The fix usually means excavating down to stable soil and rebuilding the base in layers with proper compaction.
Tree root intrusion
Pavers that rise in a ridge rather than sinking, or that lift only along a line where a root is pushing underneath, are a root problem. The tell: an uplift, not a low spot. When roots are the cause, the repair has to address the root rather than just grind off the surface of the paver. Pulling roots can leave a void that sinkholes next, so root management and base reconstruction usually go together.
If you’re not sure which of the three you’re looking at, the answer is usually worth a professional look before any material is bought. Guessing here is how a small repair turns into a full driveway replacement.
Why Efflorescence Whitens Kendall Pavers (and What Actually Stops It)
Efflorescence is that white, chalky bloom that can appear on the surface of concrete or cement-based pavers not long after installation. It gets blamed on bad material in almost every case we’re shown, and it’s almost never the material’s fault. Efflorescence is a symptom of moisture moving through the paver, dissolving salts, and leaving them on the surface as the moisture evaporates.
In a climate with our humidity and rainy season, that moisture movement is the normal state of the ground. The question is where it’s coming from:
- Surface water path. Water sitting on the surface, or running a channel across it instead of off it, dissolves salts from the paver’s top layer.
- Water rising from below. Base moisture that pushes upward through the paver pulls salt with it. This is the tougher case and points to a drainage or base problem.
- Construction moisture. Fresh pavers still curing can bloom for a few months without anything being wrong, then settle down on their own.
The important part is that cleaning off the bloom without fixing how water reaches the paver just removes the evidence. So the correct order is: identify the moisture source, fix the drainage or grading so water no longer pushes through the paver, then clean the surface. A penetrating sealer applied to a dry, drained surface can slow re-blooming and protect the finish, but only after the water path is fixed. If you seal over the symptom, the salts keep building up underneath.
This is why we treat efflorescence as a diagnostic clue, not a cosmetic chore. When we see a driveway blooming along one edge, that edge is usually where water is entering the base.
The Right Way to Reset Sunken Pavers Without Voiding the Material Warranty
Sunken pavers can often be lifted and reset without replacing the blocks themselves, and that’s good for the budget. The catch is that the material warranty and the success of the repair both depend on the same thing: how the pavers are handled and how the base beneath is rebuilt. Manufacturers of interlocking pavers generally warrant the product against defects in the material, not against the installer’s base work. But heavy equipment abuse or damaged units during a reset can complicate any claim, so careful removal and proper reinstallation protect the material.
Here’s how a correct reset works, step by step:
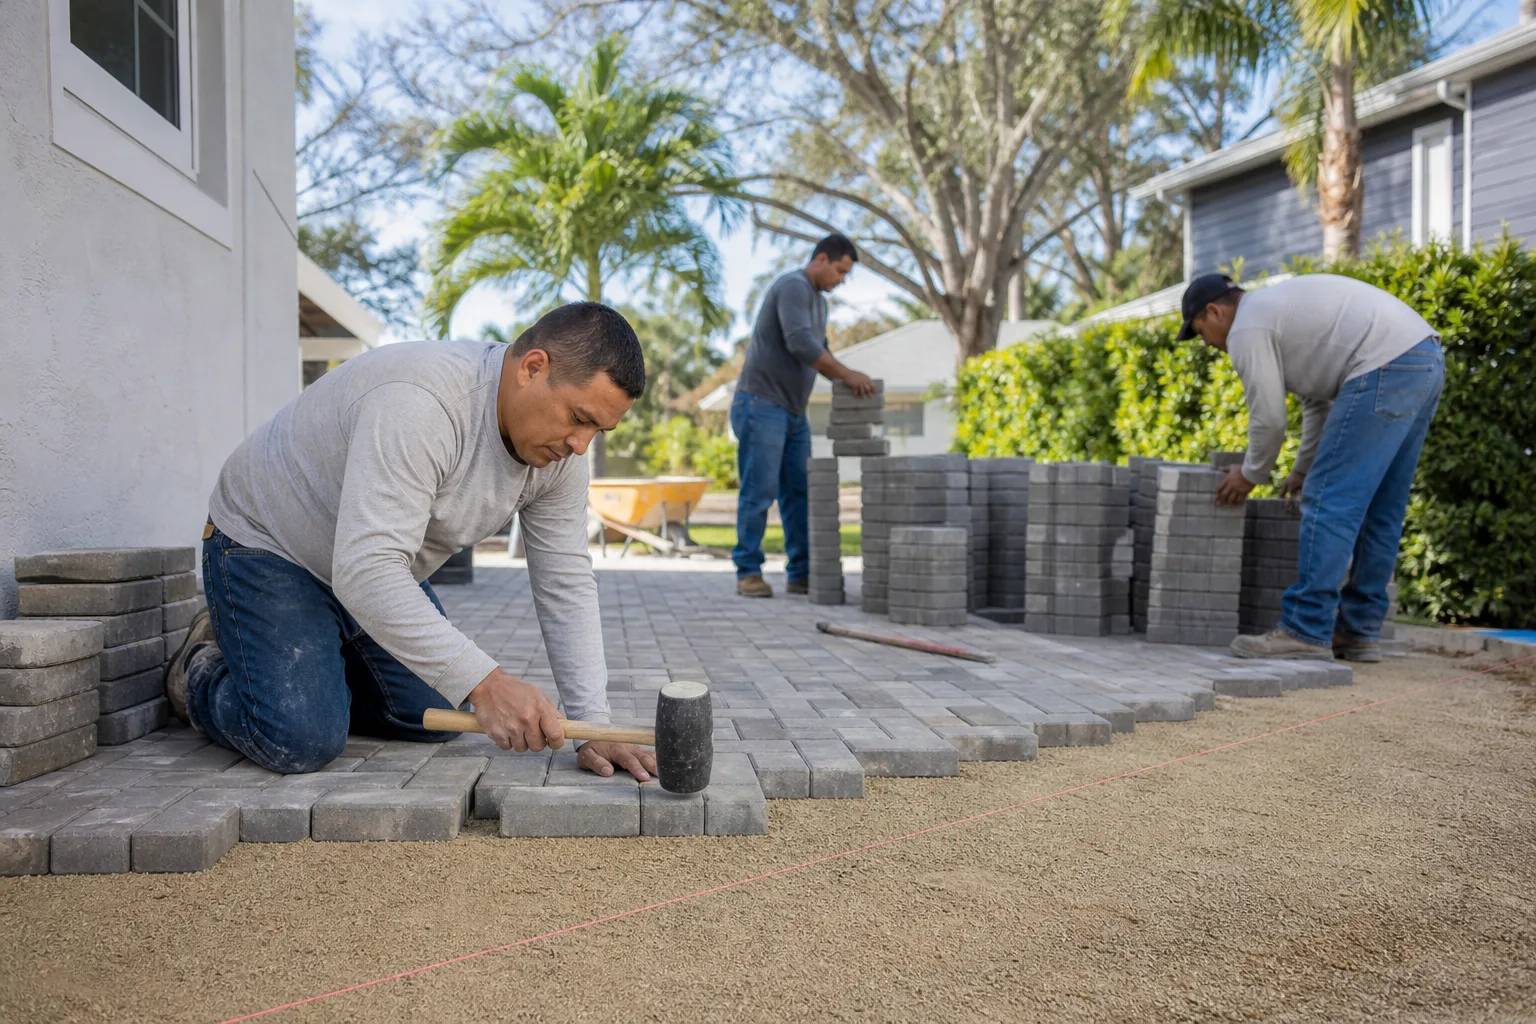
- Remove the affected field. Lift the pavers from the lowest sunken point outward until you reach sound, level blocks. Set them aside for reuse.
- Diagnose the low spot. Look at the base under the voids. Is it compacted gravel that settled, or has water washed it out sideways?
- Fix the base. Add compacted crushed stone in thin layers to bring the subbase back to true grade and compact each lift before the next.
- Rebuild the setting bed. Spread and screed concrete sand or the specified setting material to match the surrounding grade.
- Reinstall and compact. Reset the pavers, then use a plate compactor with a pad to seat them without cracking the finish.
- Restore the joint sand. Refill the joints with the correct sand and compact again to lock the field in place.
If the base under the low spot is thin or wet, resetting on top of it won’t hold. That’s the moment to decide whether a spot repair or a full base reconstruction is the honest answer, and it’s why we always check first. A reset done right restores the system. A reset done quickly hides the symptom until the next rainy season, which is exactly the loop this guide is trying to get you out of. The same base and drainage thinking applies when you’re deciding on home additions & ADU, where new hardscape is tying into existing grade.
Polymeric Sand Failure in South Florida Humidity
Polymeric sand is a stabilizer that fills the joints between pavers and locks them so water drains off the surface rather than into the base. When it works, it keeps weeds and ants out and holds the field tight. When it fails, homeowners see joints washing out, sandy runoff after rain, and pavers that shift more each storm. And in our humidity, some products fail faster than their packaging suggests.
The failure patterns we see most in Kendall come down to three things:
1. Re-liquefaction
Standard polymeric sand sets by hydration, but too much water too fast, or water pooled in the joint, leaves the binder weak. Then heavy rain re-wets the surface and the sand turns soft again, washes out, and reappears in your pool and along the curb. The tell: joint sand loss after heavy rain in bands, not across the whole driveway.
2. Poor joint fill
If the joints weren’t filled to the correct depth while the surface was dry, the sand settles lower over time, leaving gaps. Water enters, the sand softens, and the field loosens.
3. Wrong product for the climate
A standard polymeric sand meant for drier markets can struggle through a humid rainy season. A stabilized or higher-grade polymeric product with better rain resistance is the substitute we’d recommend for a Kendall install. Choose the product for the climate, not just for the price.
What actually stops the failure
- Install the sand on a fully dry surface, following the product’s drying window.
- Fill joints to the full recommended depth and compact in place.
- Finish with a light, controlled wetting that doesn’t pond in the joints.
- Keep the drainage pattern intact so water exits the driveway instead of running across the joints.
Call (888) 300-8968 for a free estimate if you’re not sure what’s failing. We answer 24/7. Fast dispatch from 7am to 7pm. Re-sanding a driveway that only needed correct joint fill and compaction is far cheaper than rebuilding the base under a field that washed out.
Drainage and Standing Water: The Root Cause Behind Most Damage
Nearly every paver problem in Kendall we get called about traces back to water that isn’t leaving the way it should. Water is patient. It finds the low point in the base, softens the gravel, washes away the setting sand, and pushes up through the surface. By the time you see a sunken paver, the water has been working under the driveway for months.
Common drainage failures in Kendall driveways include:
- Wrong slope. A driveway that drains toward the property or toward a boundary instead of the street or a drain.
- Blocked or undersized drainage. A drain that can’t move the volume during heavy rain, so water backs up and floods the pavers.
- Base that doesn’t drain. Gravel or setting bed that holds water because it wasn’t graded to shed.
- Gutter or downspout discharge. Roof water hitting the driveway edge instead of being piped away.
When you need to figure out where the water is going, start at the edges and work inward. The lowest paver, the one that pools first, usually sits on the water’s exit route. If the exit route is blocked or missing, the repair has to fix the grading or add a drain before the pavers are reset. Otherwise, the next heavy rain undoes the work. We usually find the drainage answer comes before the paver answer.
There’s a related property line where this matters. Fences and driveways share the same drainage question, and a fence post set through a blocked drain or into standing water is another place moisture and stability collide. Proper fence installation accounts for the same grading and base work the driveway depends on.
Band-Aid Repair or Full Base Reconstruction?
The hardest call on any driveway is whether to repair or rebuild. Get it right and you save money. Get it wrong in either direction and you either waste the repair or spend on work you didn’t need. Here’s the framework we use.
Signs a spot repair is the honest answer
- The failure is a single, well-defined low spot in an otherwise level field.
- The rest of the driveway drains cleanly and has no standing water.
- The pavers and edge restraint are intact except at the failure.
- No water is entering the base from a blocked drain or wrong slope.
Signs full base reconstruction is the only durable answer
- Failure is spread across large sections or recurring in the same place after a reset.
- The driveway pitches toward the property, a wall, or a boundary instead of to a drain.
- The edging has let go and the field has spread, leaving wide joints.
- Water is rising through the pavers, or efflorescence keeps returning after cleaning.
- Tree roots are lifting the subgrade and the roots aren’t being managed.
Here’s the cost-benefit logic. A spot reset costs a fraction of a reconstruction and buys you a season or two if the surrounding field is sound. If the base is failing across the driveway, the reset is a band-aid, and the money spent on it comes out of the reconstruction budget later. A reconstruction that fixes grading, base, drainage, and edge restraint at once ends the cycle. That’s how we think about it in Kendall, where the rainy season delivers honest feedback on a repair within a few months. And if you’re already facing a full driveway replacement with new pavers, choose the material for durability and the base for the drainage. Brand choice across Belgard, Techo-Bloc, and Unilock matters for look and durability, but base prep is what holds the driveway together.
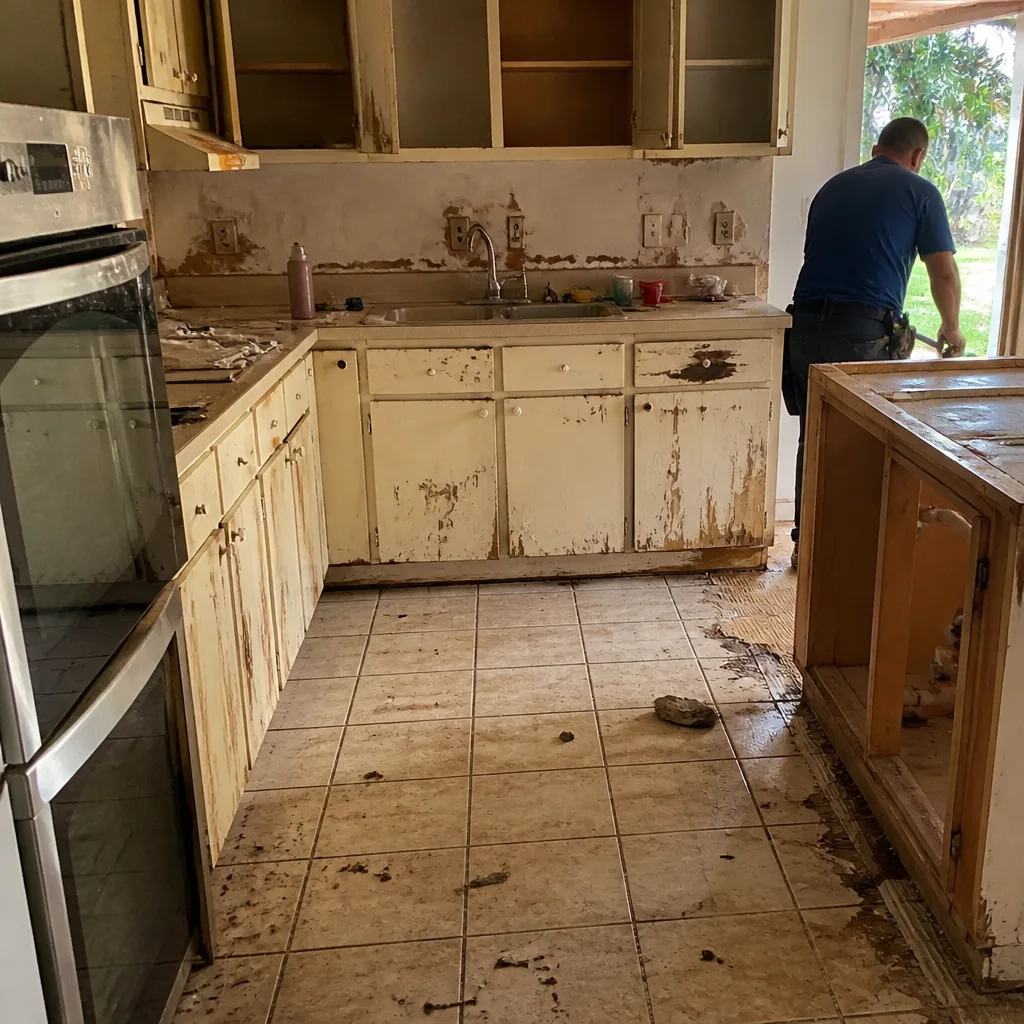
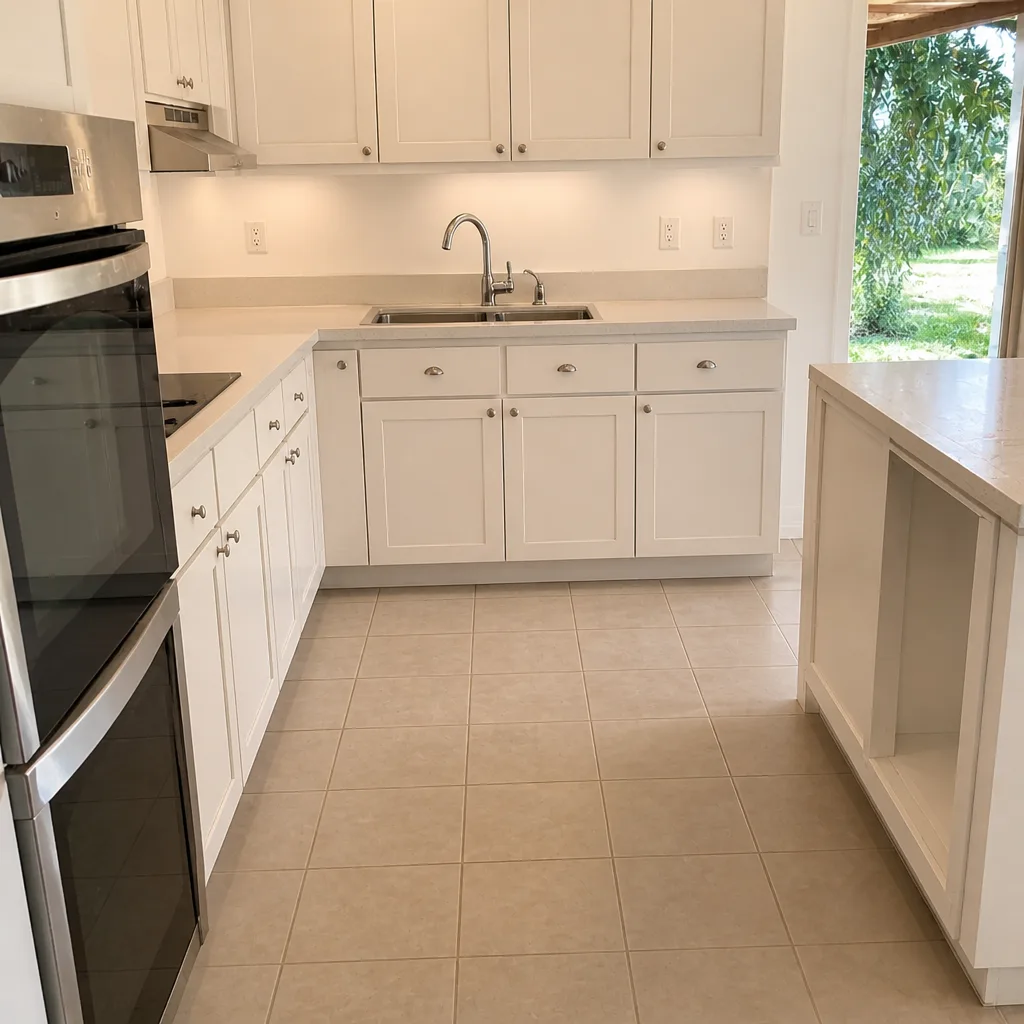
See the difference
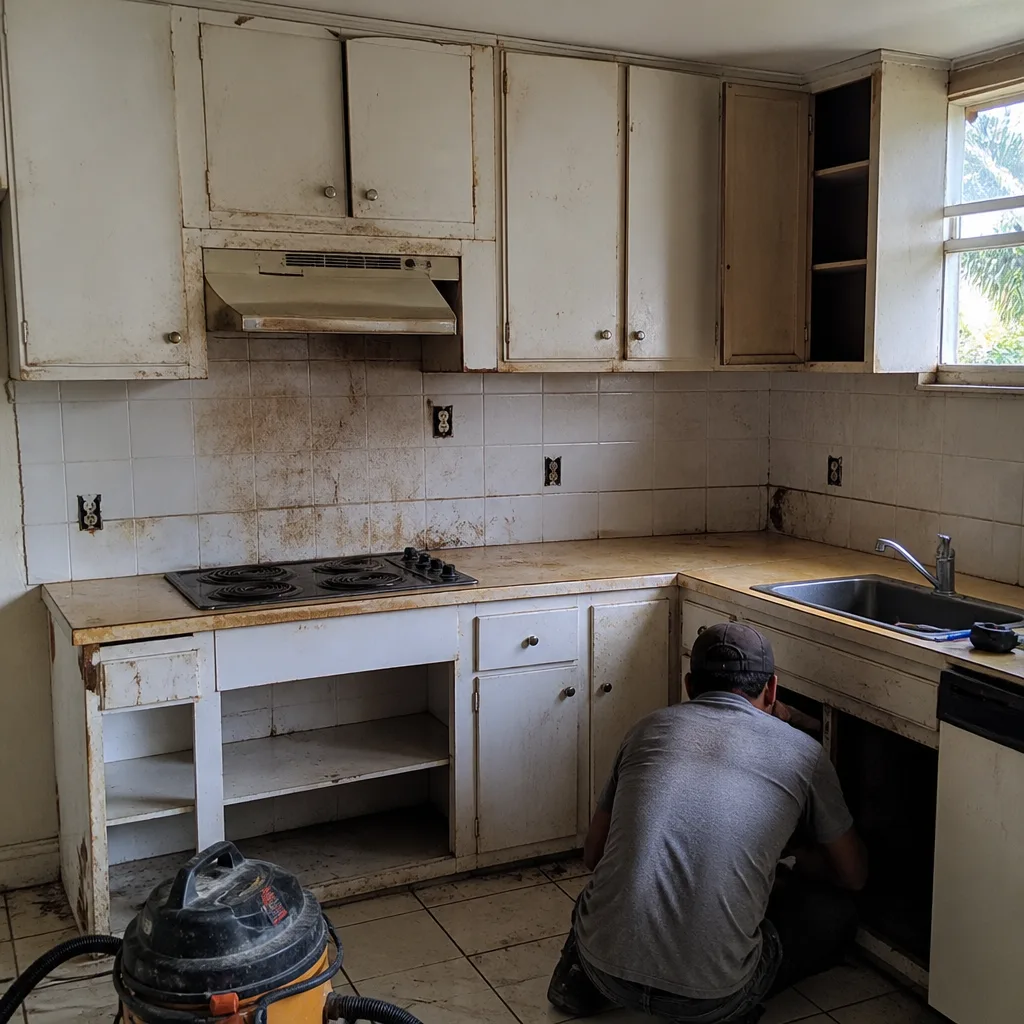 Before
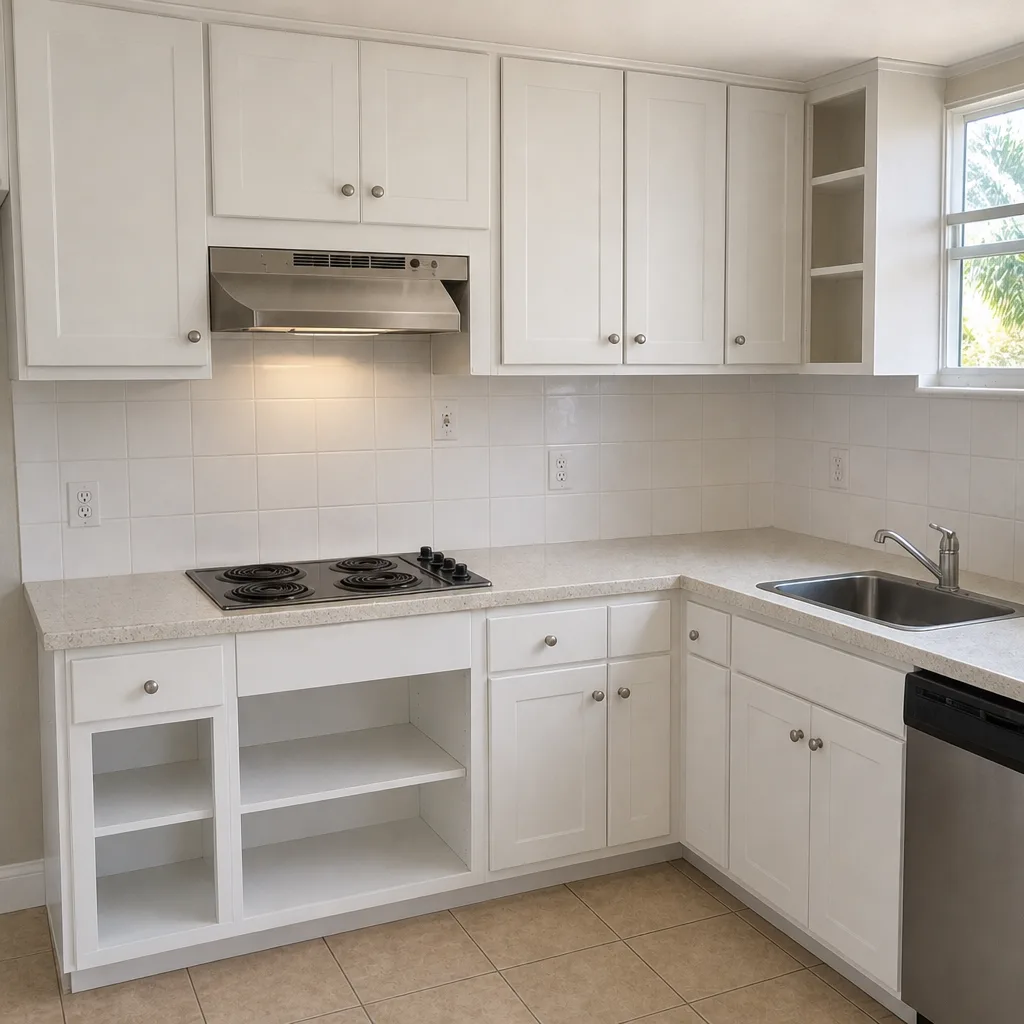 After
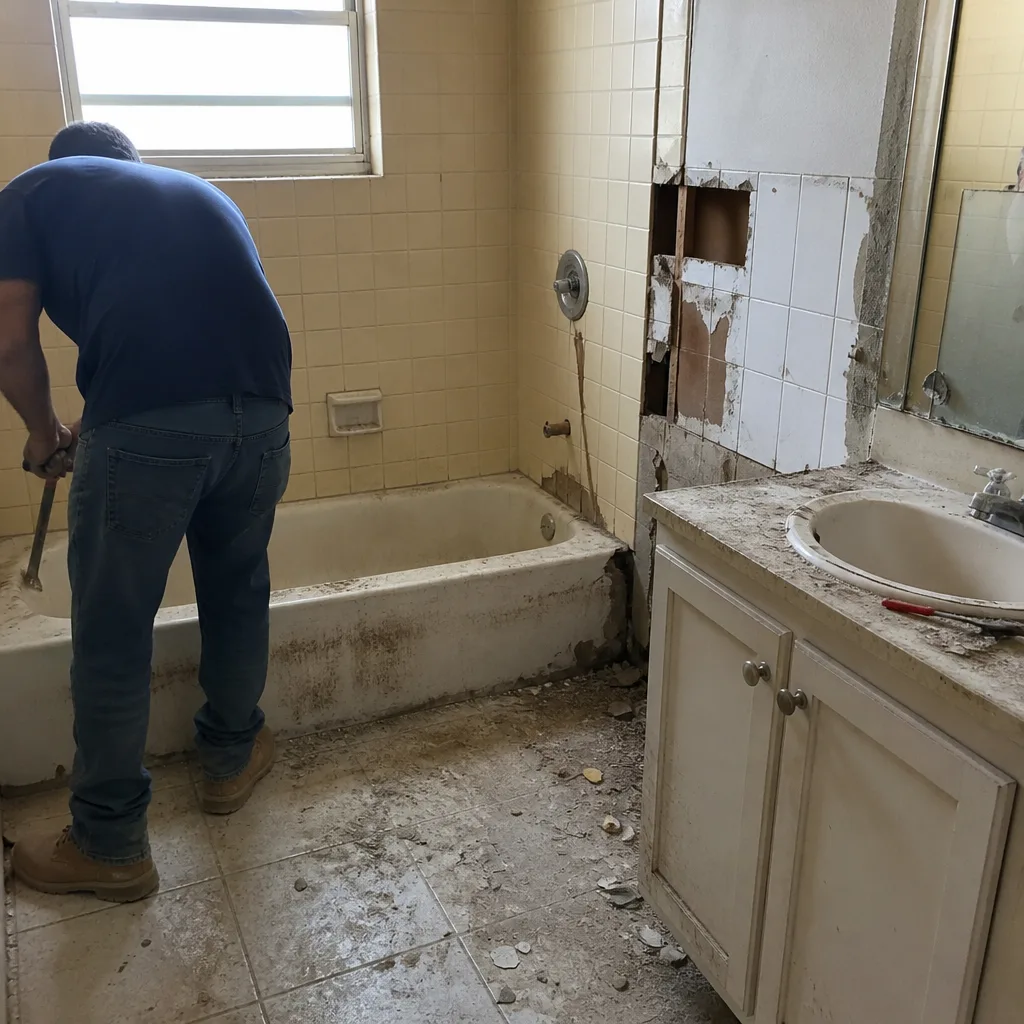 Before
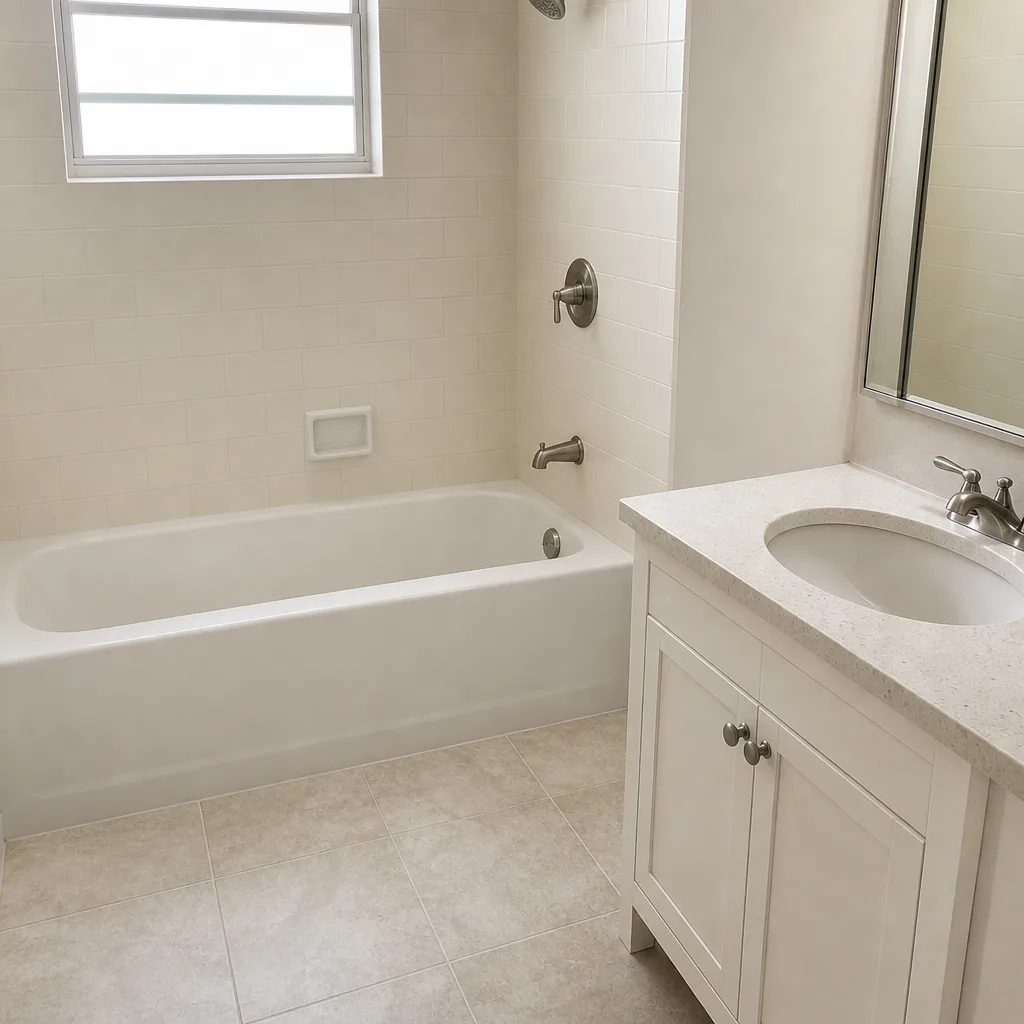 After
 Before
 After
Common Mistakes to Avoid
- Replacing a cracked paver without finding the cause. The new block cracks too when the base underneath is still failing.
- Patching over wet base. New stone or sand on a wet, uncompacted subbase settles again on the first heavy rain of the season.
- Sealing over efflorescence to make it disappear. Sealing presses the salt bloom against the paver and hides the moisture source instead of removing it.
- Using the wrong polymeric sand for the climate. A standard product that struggled through a hot, humid rainy season is money spent twice.
- Ignoring slope and drainage before buying pavers. A beautiful paver field on a driveway that pitches water toward the house isn’t solving the plumbing of the yard.
- Letting the edge restraint go. Loose edging lets the whole field spread, and wide joints then let sand and base wash out.
- Cutting tree roots without a plan. Grinding a root can leave a void that sinkholes the driveway next, so root management and base repair have to be paired.
When to Call a Professional
Some driveway situations are a straight call to a contractor, not a weekend project. Call us when a repair has failed twice in the same spot, when water is pooling against the house or a boundary wall, or when pavers are rocking and the joints are opening across a large area. Full base reconstruction involves excavation, compaction gear, and grading, and that’s genuinely hard to get right without it. The same is true when a problem sits under a heavy deck or near a structure where an error is costly. Kendall Construction Co offers free estimates in Kendall, and our technicians have up to 14 years of experience. Call (888) 300-8968. We answer 24/7. Fast dispatch from 7am to 7pm, Sunday through Friday.
Frequently Asked Questions
Most spot repairs, like resetting a sunken section or re-sanding joints, are typically priced in the low hundreds to low thousands depending on square footage, base condition, and how much lifting is needed. Full base reconstruction is a larger project because it involves excavation and new base material. The written estimate sets the final price, so call (888) 300-8968 for a free estimate.
Usually yes, as long as the failure is a defined low spot and the surrounding base is sound. The pavers are lifted, the base under the low spot is rebuilt and compacted, and the pavers are reset. If the failure is spread across the field or keeps recurring, a full base reconstruction is the more durable answer.
Our work is priced per job by a written line-item estimate, so the number we agree to is the number you should see. We confirm pricing after we’ve inspected the base and drainage, which is where the real variables hide. Call (888) 300-8968 for a free estimate.
Most driveway and paver work in our area doesn’t require a building permit, but some repairs or hardscape changes do, depending on the scope and your local code. Ask your city’s building department before work starts, and we’ll help scope the job so any permit question is answered before the first paver is lifted.
A spot reset is often a short project once the base has been inspected, while full base reconstruction takes longer because the base has to be excavated, rebuilt in layers, and compacted. We won’t promise a timeline before we’ve seen the driveway. Call (888) 300-8968 and we’ll walk you through the realistic scope.
That whitening is efflorescence, and it’s a sign that water is moving through the paver, not that the material is defective. Clean it after fixing the water path, not before. If it keeps returning, the base or grading needs attention. Call (888) 300-8968 and we’ll help you find the source.
The Bottom Line
A crack, a dip, or a white bloom is information. It’s telling you water, base, or drainage is failing somewhere under the surface, and fixing that surface symptom without the cause just repeats the cycle. Our advice for Kendall homeowners: identify the root cause first, then reset or reconstruct the base, then fix the drainage and grading, and only then consider sealer or surface finishes. That order saves money and actually lasts. If you’re not sure which problem you’re looking at, our team at Kendall Construction Co is the contractor to call.
We work with a roster of trusted brands including Belgard, Techo-Bloc, and Unilock, and we source the same material consistently. If the driveway is part of a bigger exterior refresh, we carry that scope through to the roof overhead. From the curb to the ridge, one contractor, every trade. Call (888) 300-8968 for a free estimate. We answer 24/7. Fast dispatch from 7am to 7pm, Sunday through Friday.
Written by the team at Kendall Construction Co.